WebForms allows you to complete surveys in a web browser. The webForms launch page can be found by selecting the menu modules then
webforms. To access this page you will need the enum security group. WebForms uses the enketo-core library.
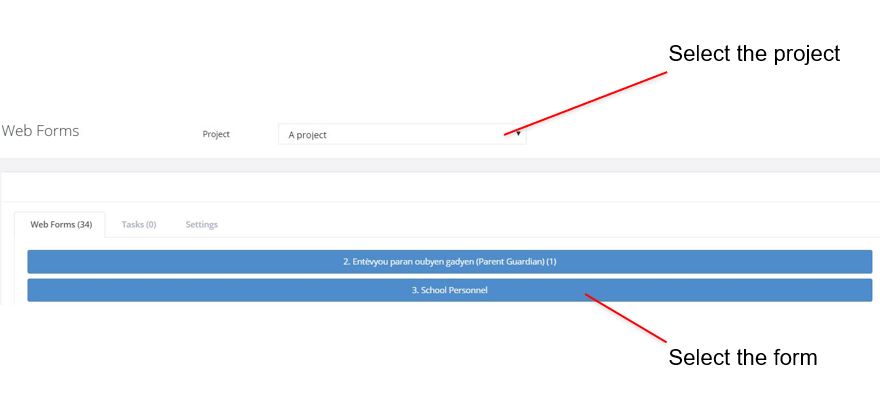
There are 3 tabs on this page. The Web Forms tab itself which allows launching of a blank survey. The tasks tab where tasks
can be selected for completion. Finally a settings page where settings that can be changed by a user who only has enum privilege
can be updated by that user.
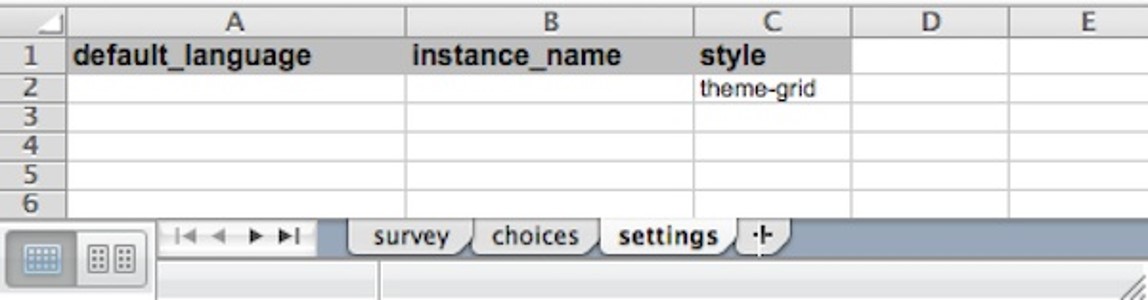
To enable grids set theme-grid as the style in the XLSForm settings sheet. Alternatively in the online editor
select menu File, then Settings then set style to Grid.
Once grids are enabled you can use groups (begin group, end group) to form the questions into the grid you want.
Enclose the questions that you want to appear in a single row within a group
Set the width of the group using w1, w2, w3, w4, w5, w6, up to a maximum of w10, in the appearance column for that group.
w4 is the default value for a group. w8 will set the width to 8. These widths in the group appearance set a number
for the maximum width of the row. When
the width of a question means that it will not fit on a row then the question will be shown on the next row.
Set the width of each question in the group in their appearance also using w1, w2 etc. Normally you would make these widths
add up to the group width, however this is not required as any questions too wide to fit will automatically
be moved to the next row.
To enable pages set pages as the style in the XLSForm settings sheet. Alternatively in the online editor
select menu File, then Settings then set style to Pages.
Once you have set the style to pages then every question will appear on its own page with a next and
a back button to navigate. You can then use groups with the field-list appearance to put multiple questions on
a single page in exactly the same way that you can do for fieldTask.
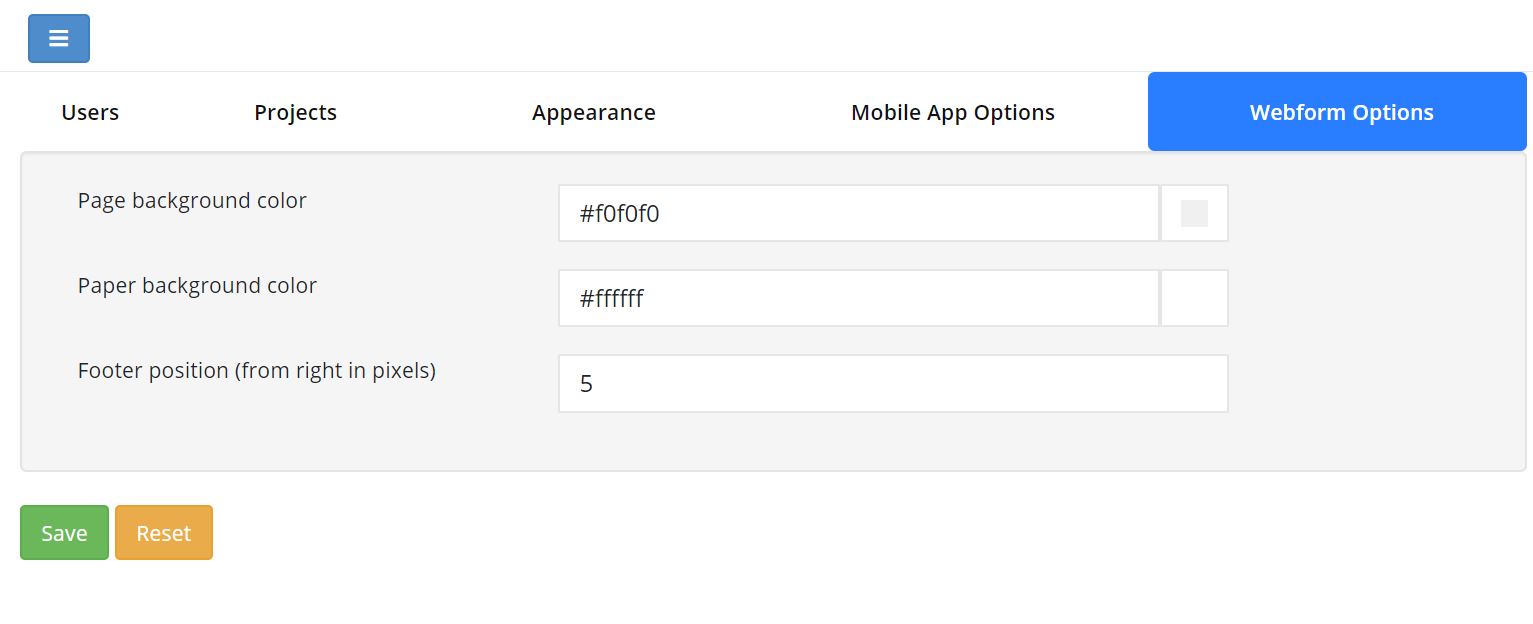
If you have "organisational admin" privilege then you won't see the above tab instead you can change the webform style in the organisations
tab by selecting the organisation that you want to modify.
WebForms works offline however you have to make sure that the form is cached on your device before you go into the field and that you
can access it. The following instructions assume that you are using Chrome as your browser however Firefox, Safari and other browsers are similar.
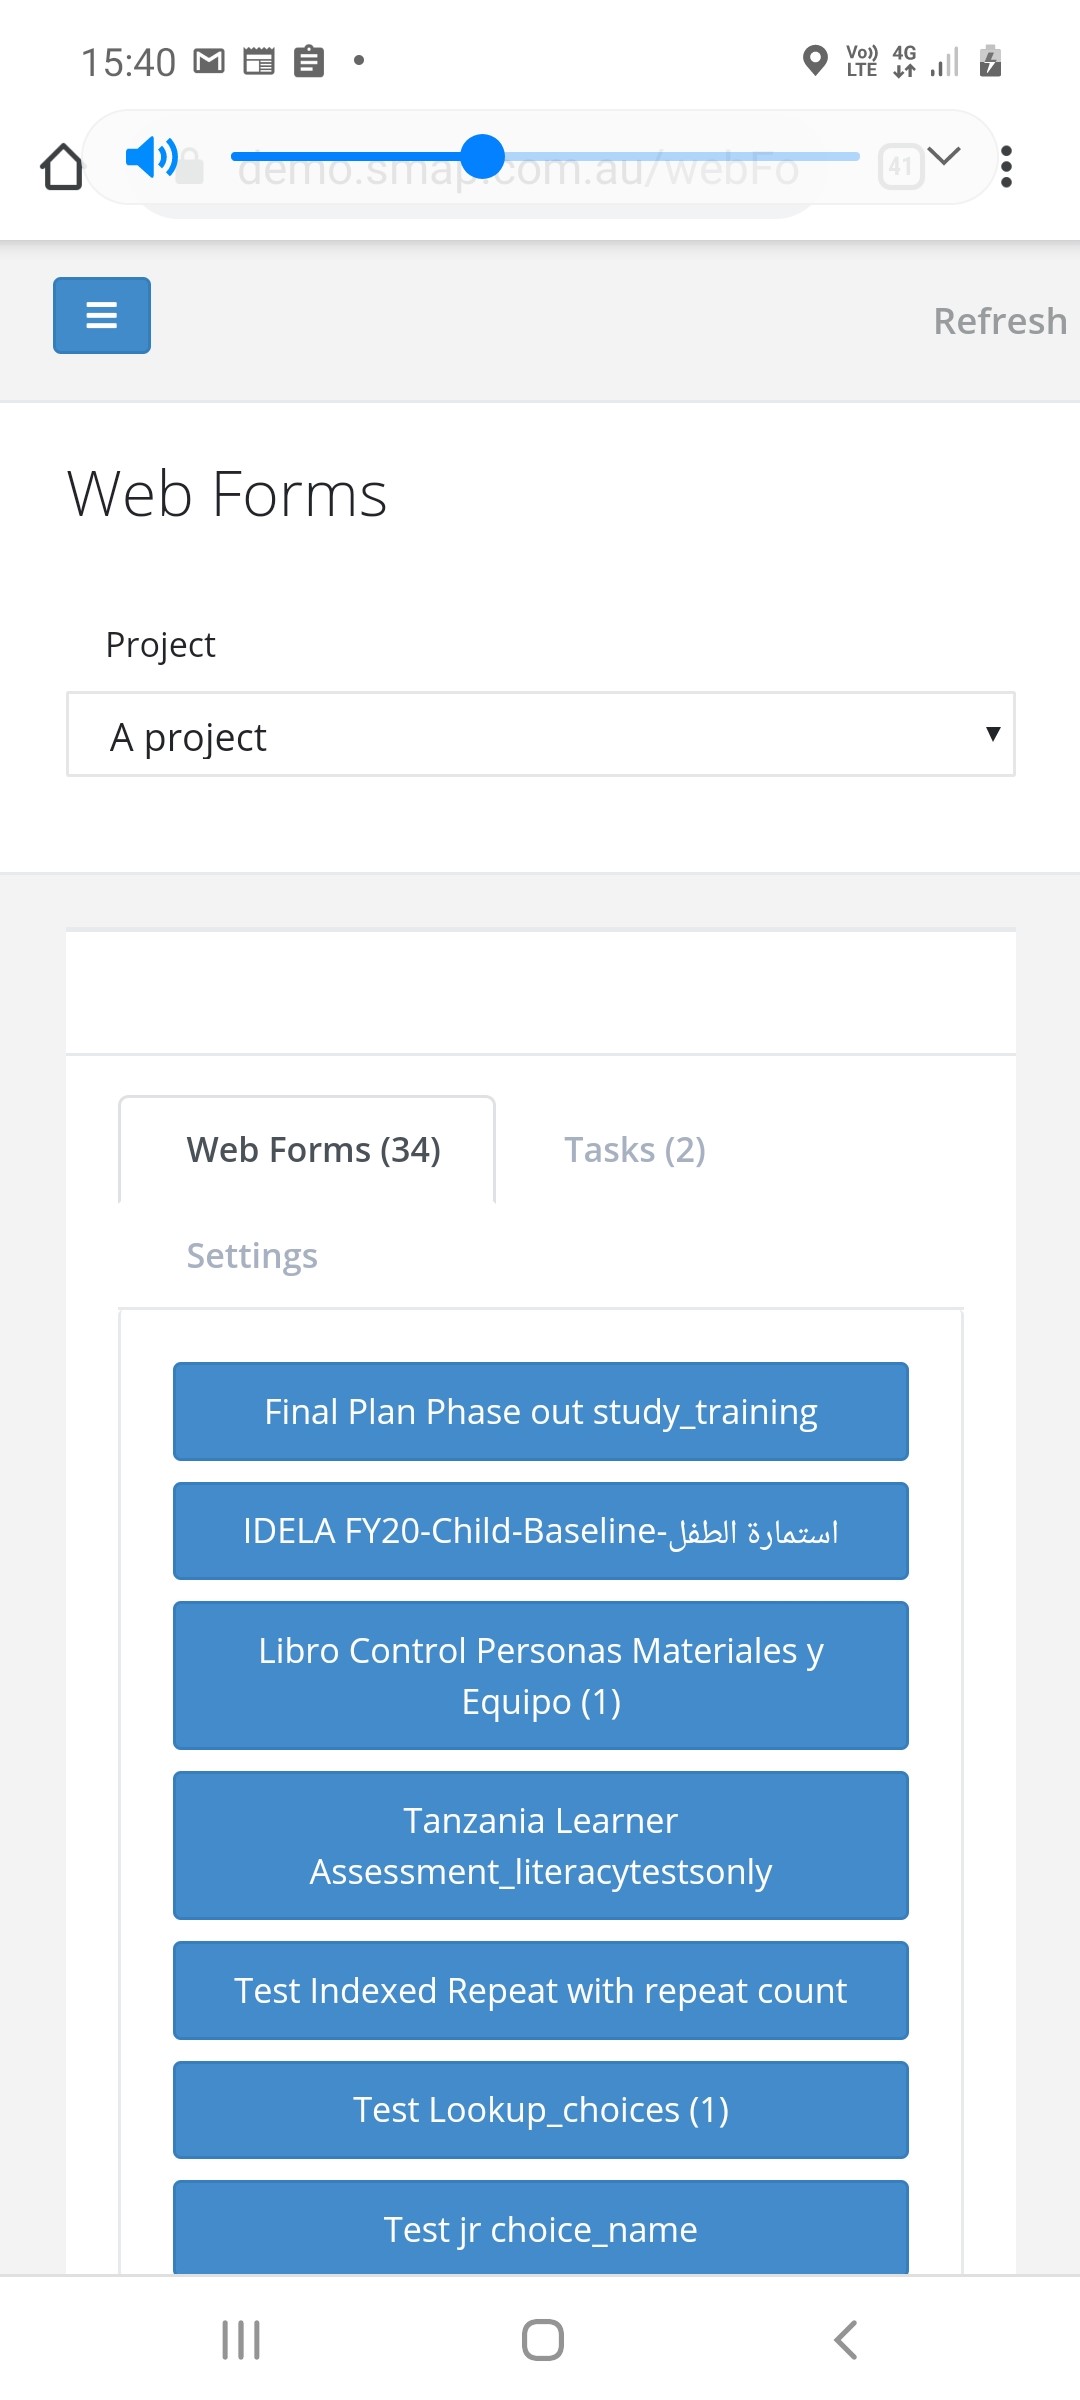
Logon to the Smap server. If you are using an account that has enumerator access then you should see the WebForms launch page.
This will show the survey form in your browser. At this point all the files associated with the survey will have been downloaded and cached in your browser so
that it can be used offline. Next you want to get a link to the survey so you don't need to navigate to the server to find it.
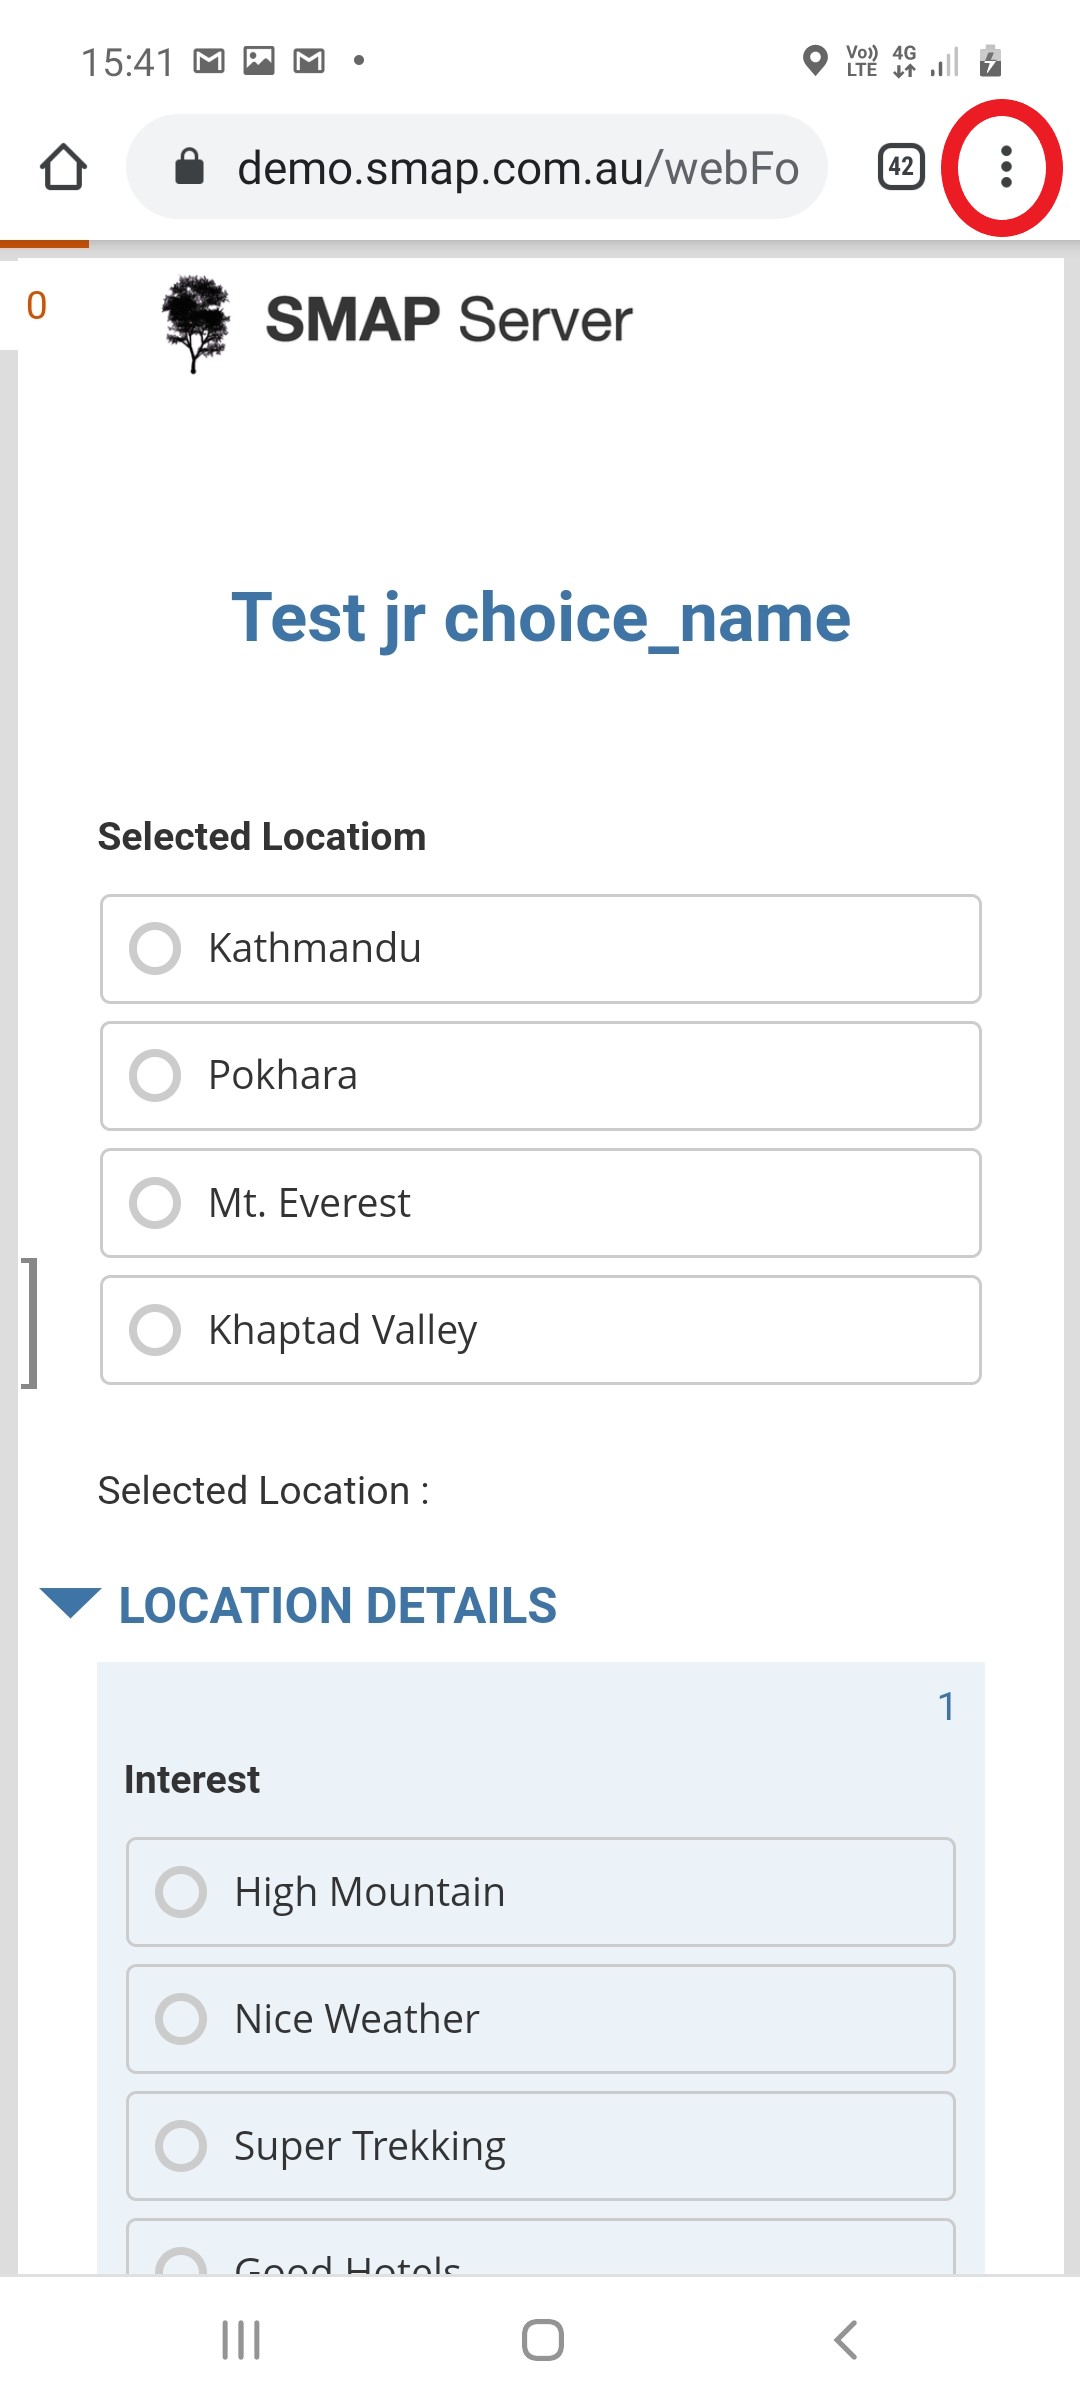
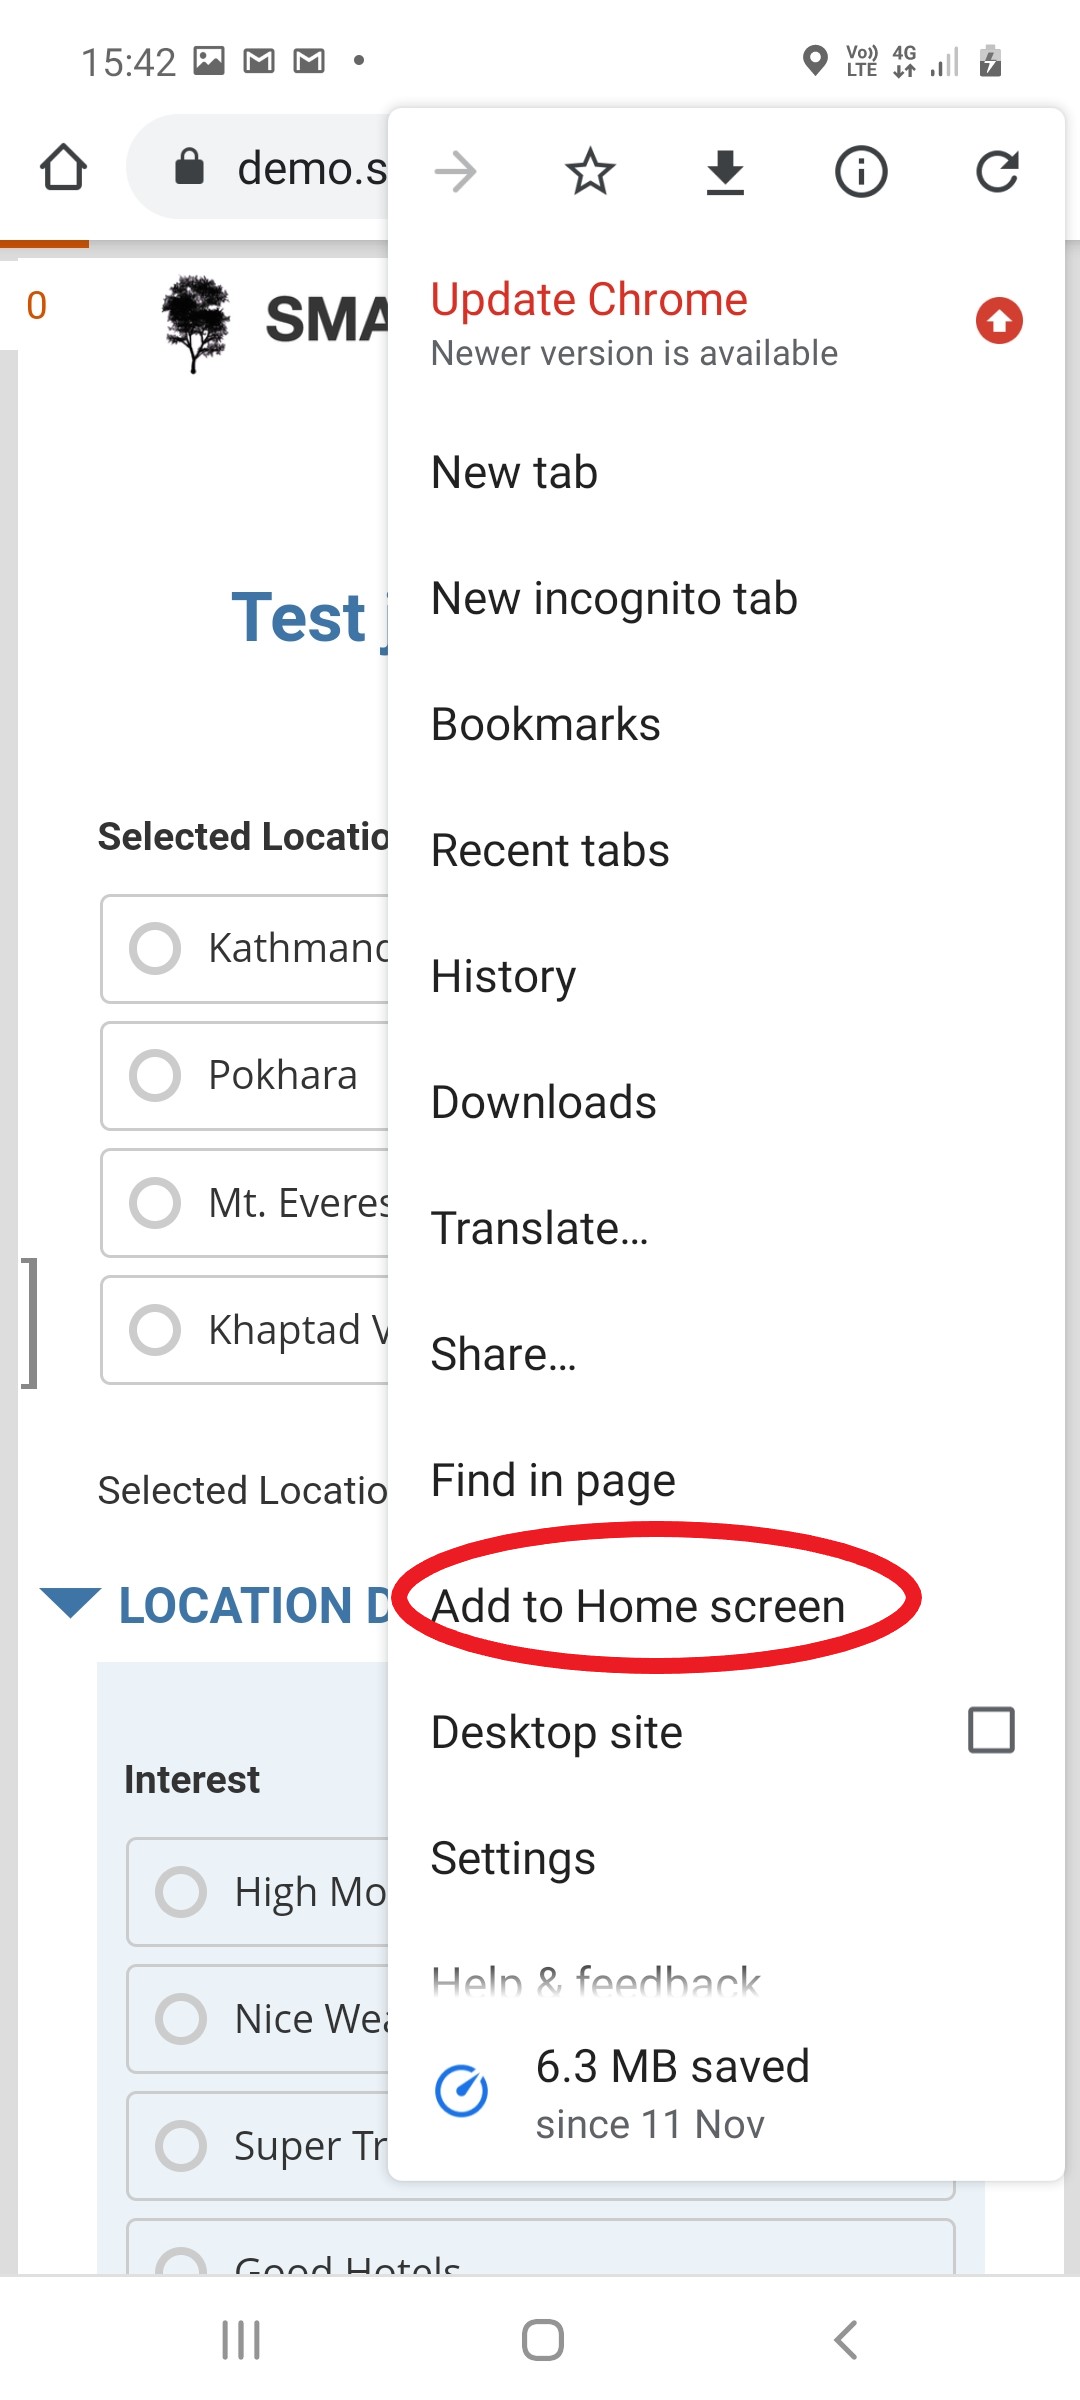
Select the menu for the browser so you can save a link to the survey locally. This menu may appear as 3 vertical dots (shown highlighted
in the next picture with a red circle). However it may appear differently depending on the device.
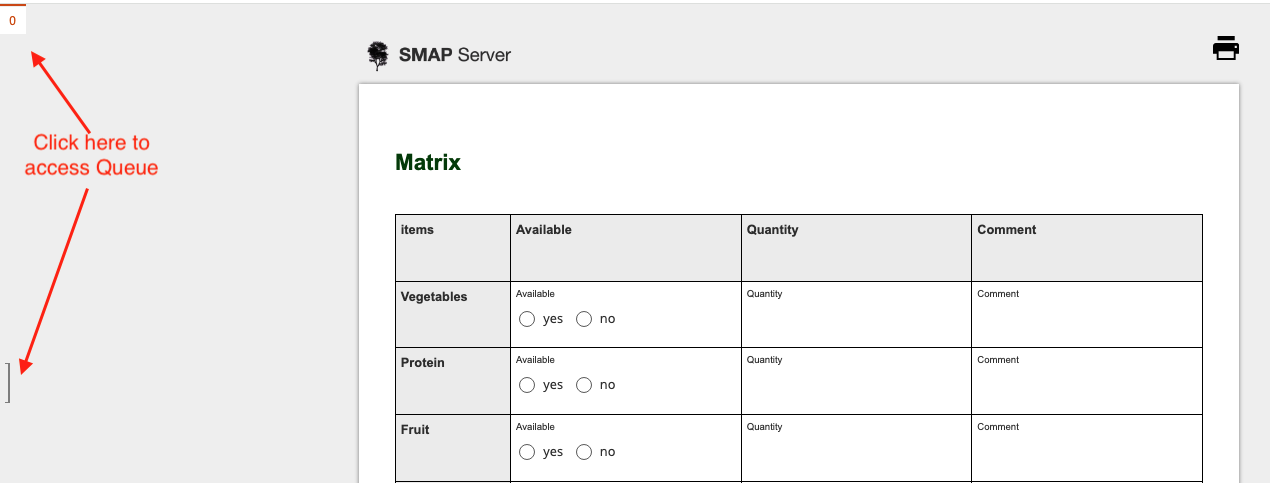
Completed surveys are sent immediately, however if there is no network connection they will be put into a queue to be sent
later. You may also save a survey as "draft" which will also put it into the queue until you complete it. To access the
queue click on the count of unsent records at top left or the "drawer" icon at left.
The history page shows the surveys that have been completed and submitted over the last 100 days.
The action can be Submitted, Saved or Deleted. The instanceId is useful for connecting a Submission entry
in the History to a record in the Console of the server.
Note the webForm history is not stored on the server, so if you are reconciling somebody’s work you will
have to ask them to talk through what they see in their history.
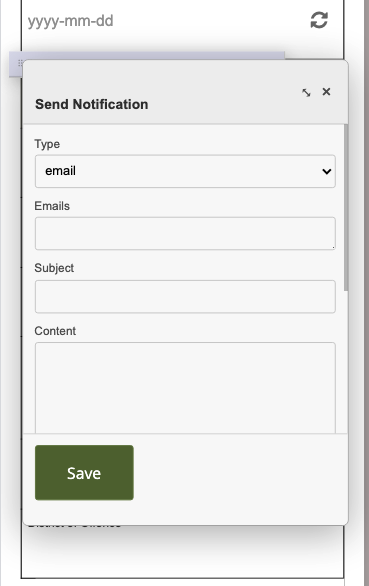
Emails can be added in WebForms. This means they can be added while offline and will be synchronised when the Submit button is pressed.
Attachments can be added to the email. This email and its attachments are stored with the record being edited and can be viewed in the
history page of the console.
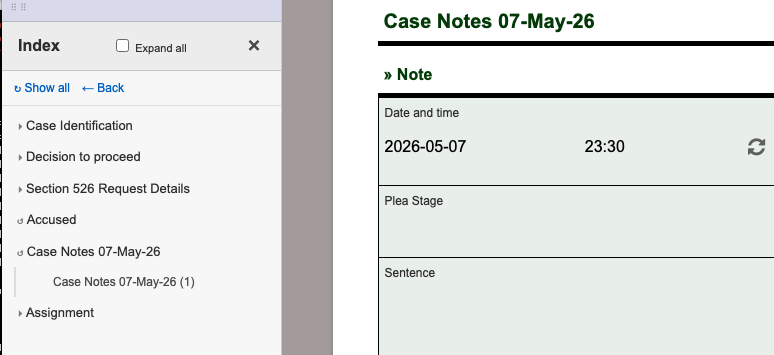
Indexes are very useful if you are using WebForms to update large cases. You might want to quickly add a new entry to a
repeating group. You can select the repeating group from the index make your changes and submit.