Workflow
Workflow is the umbrella for both Tasks and Notifications. Using the Workflow page you can create and manage tasks and notifications from a single place. If you have already set up tasks or notifications they will be displayed diagrammatically on the Workflow page, showing the connections between each triggering event and the task or notification it produces.
To access select WorkFlow in the modules menu on any page Diagram -------
The diagram shows your current workflow as a visual map. Each triggering event (such as a survey submission, a periodic timer, a server calculation change, or a case management alert) is shown on the left, with arrows connecting it to the tasks and notifications it triggers on the right.
This gives you an at-a-glance picture of how data collection events drive actions across your program, making it easy to:
Identify which surveys or events are driving which tasks and notifications.
Spot gaps — events that collect data but do not yet trigger any follow-up action.
Detect duplication — multiple tasks or notifications triggered by the same event.
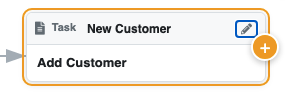
The diagram below shows an order processing workflow implemented in Smap. Note each step can be a case, task or notification such as an email. Hence in the diagram "Fulfil Order" is a case and is managed through multiple internal steps and then passed on to "Invoicing". "New Customer" is a task. It is just one of the tasks of the "Fulfil Order" case.
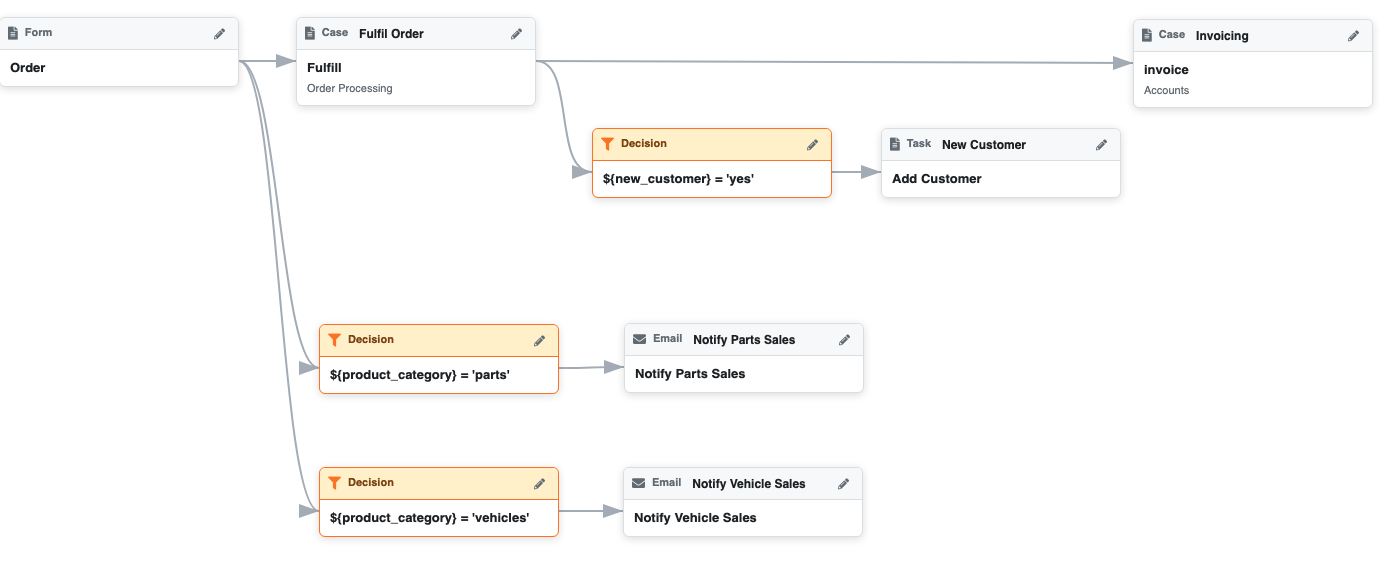
An order processing workflow
Starting a Workflow
Click on the + symbol, inside a blue circle at the bottom right of the screen, to add a starting point for your workflow.
Adding a Workflow Step
Select the workflow item that triggers the new item. Click on the Add(+) icon to create a step.
Adding a new step
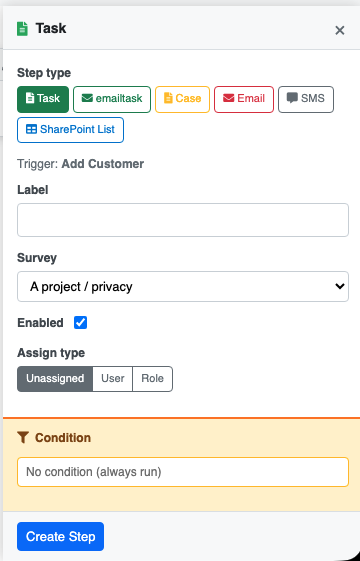
Editing the step
For the Workflow step type, you can select:
Task — assign a survey to a user or group to collect or update data. See Tasks.
EmailTask - Email a task to somebody who does not need an account on the system
Case - Assign a case to somebody
Email — send an automated email. See Notifications.
SharePoint List - Push data into a SharePoint list.
Specify a label for the Workflow step so that it is meaningful to readers. Specify other attributes of the Step, the exact attributes depend on the step type.
Specify a condition of the workflow step is not always invoked. These conditions use the syntax for Server Expressions.
Editing, Deleting and Advanced Settings
Click any item in the diagram, then click on the pencil icon, to edit or delete it. Changes take effect immediately and the diagram refreshes to reflect the updated workflow. To the edit panel will also include a link to the underlying task or notification so that advanced options can be set.
Simplification
The workflow page presents a simplified view of notifications and tasks. You can access all the options by selecting "Advanced" when editing a workflow item. There are also some capabilities that are not currently accessible from the Workflow page; for example to add a periodic notification you will need to go directly to the notification page.